I finished a quilt! It only took me a little over a year! I wanted to make a quilt for my bedroom to match the cream and blue toile wallpaper, but I didn’t want a completely blue room. I decided that adding some pinks and florals would complement the blue and keep the room looking pretty and feminine. Here is the end result.
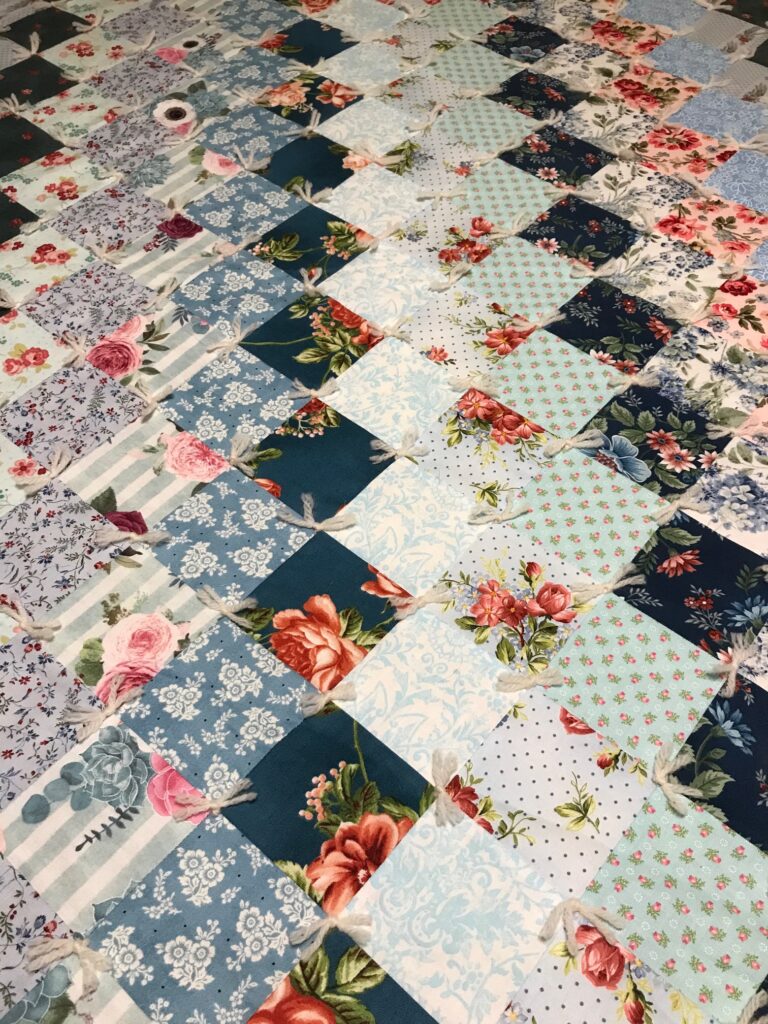
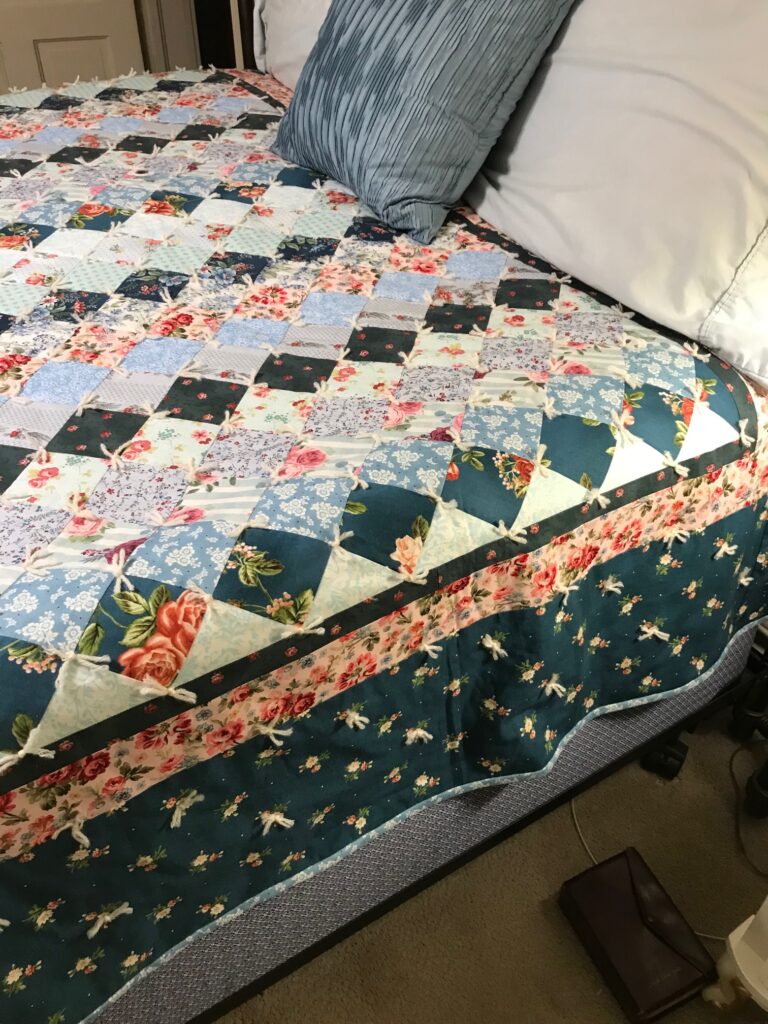
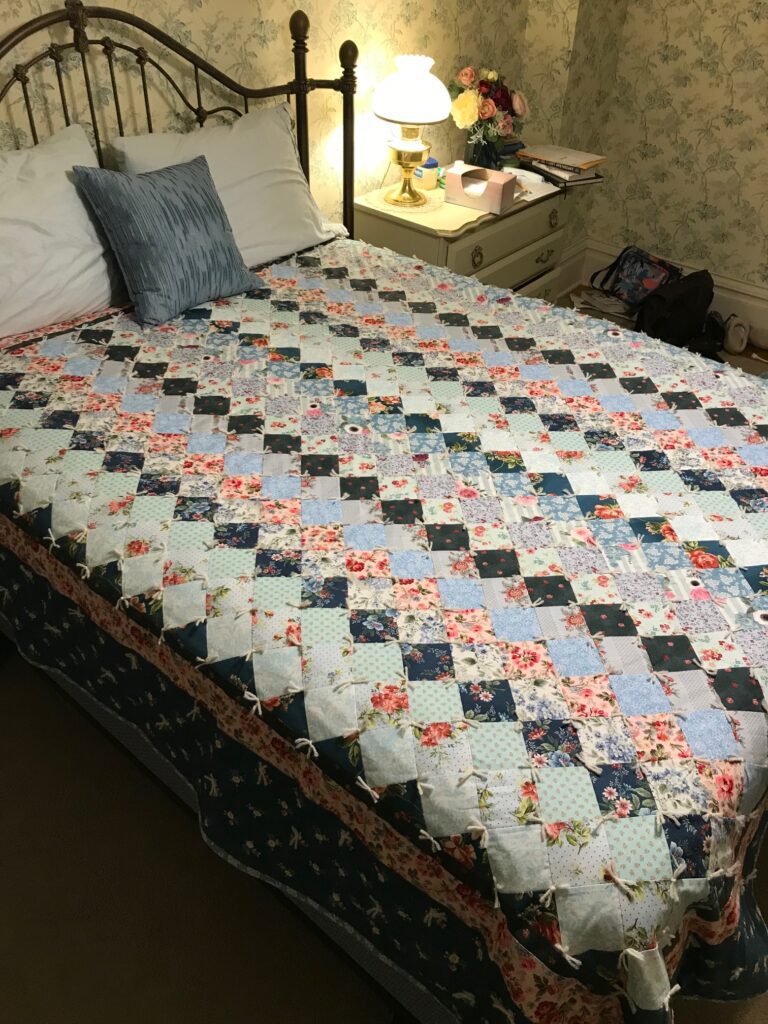
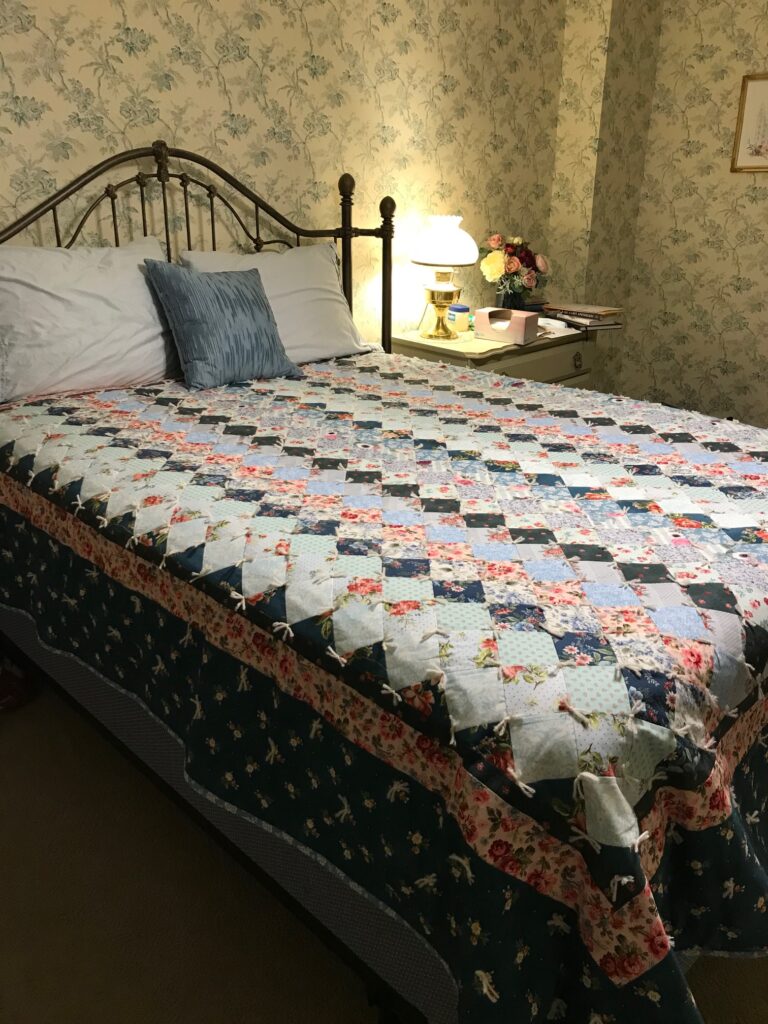
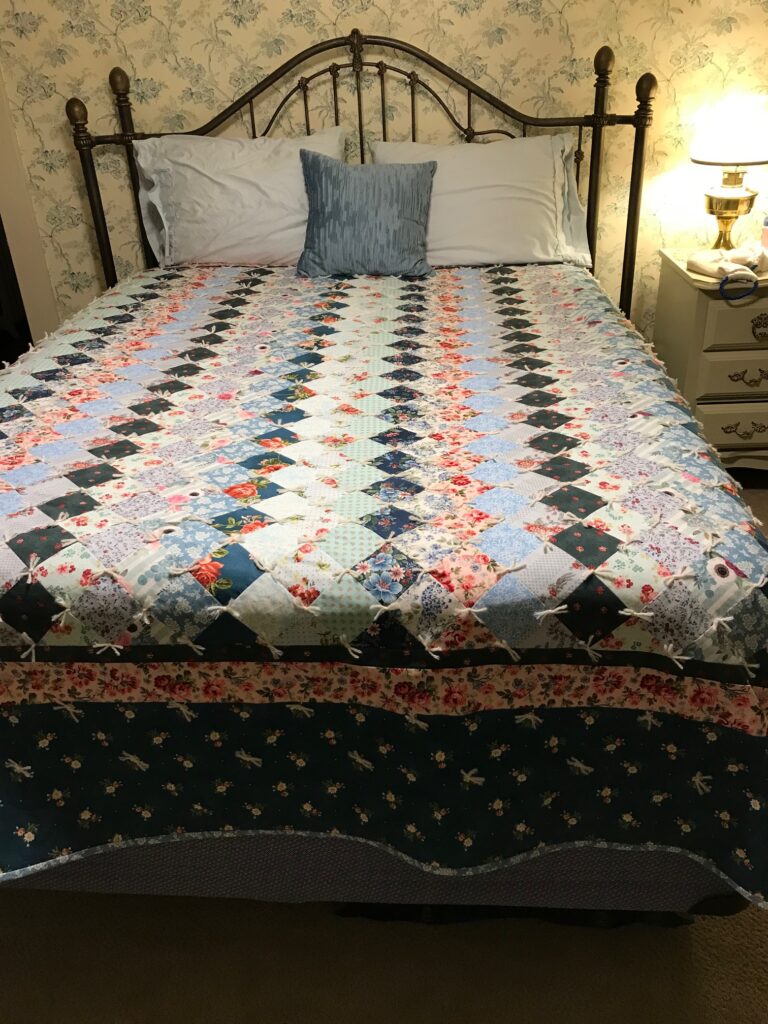
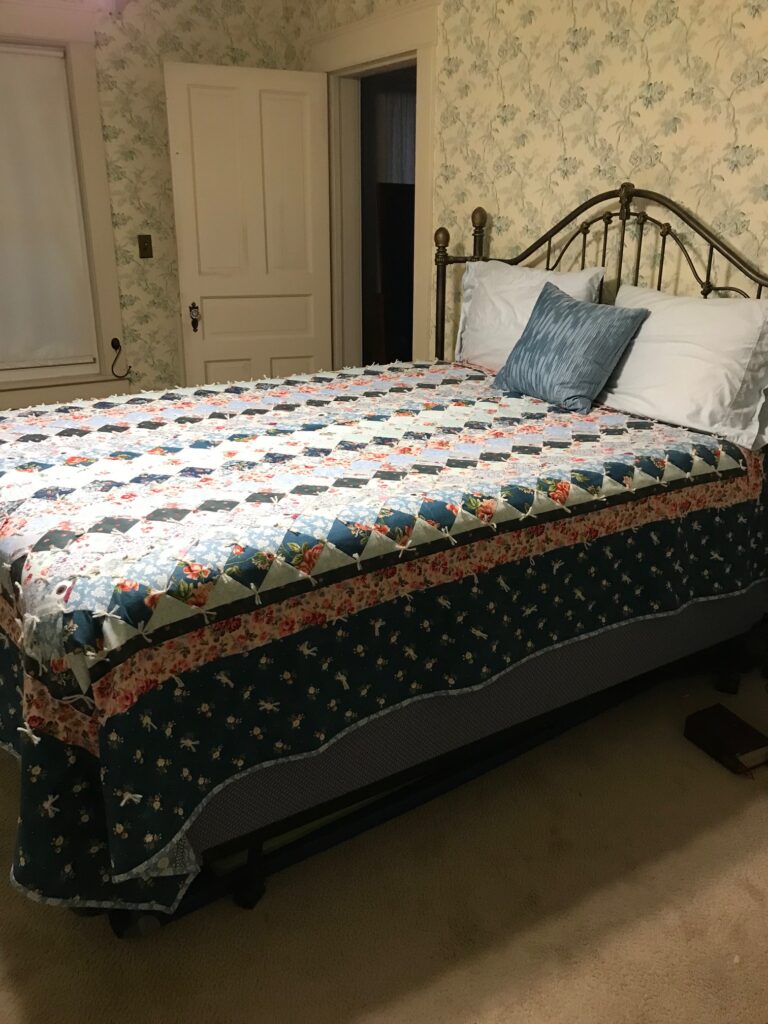
I started out with a picture from Pinterest of a quilt with this diagonal square design with the squares lined up in vertical lines. I was struck right away with the novel design using something as simple as squares. It’s patchwork-y, yet ordered. My first step was to find a bunch of blue floral prints without really having any idea how much of any one fabric I would need. Needless to say, I had a lot of extra fabric–enough to make two twin quilts and a baby quilt. I’m not sure what I’m going to do with the extra quilts. Keep them? Sell them? Give them as gifts? Right now they are in various stages of completion, either quilt tops or piles of squares, so I have some time to decide.
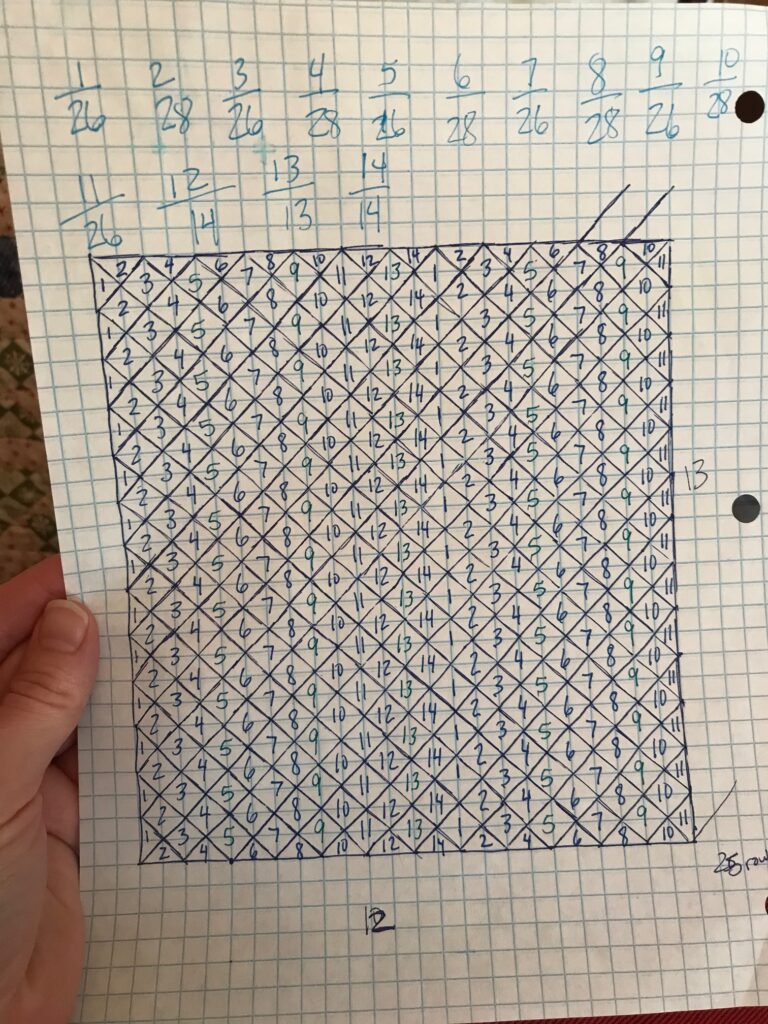
After compiling my materials, I drew up a plan, numbering each fabric so I knew how many squares of each I would need. I planned it so that my favorite fabrics would end up in the middle and be used more than some other fabrics.
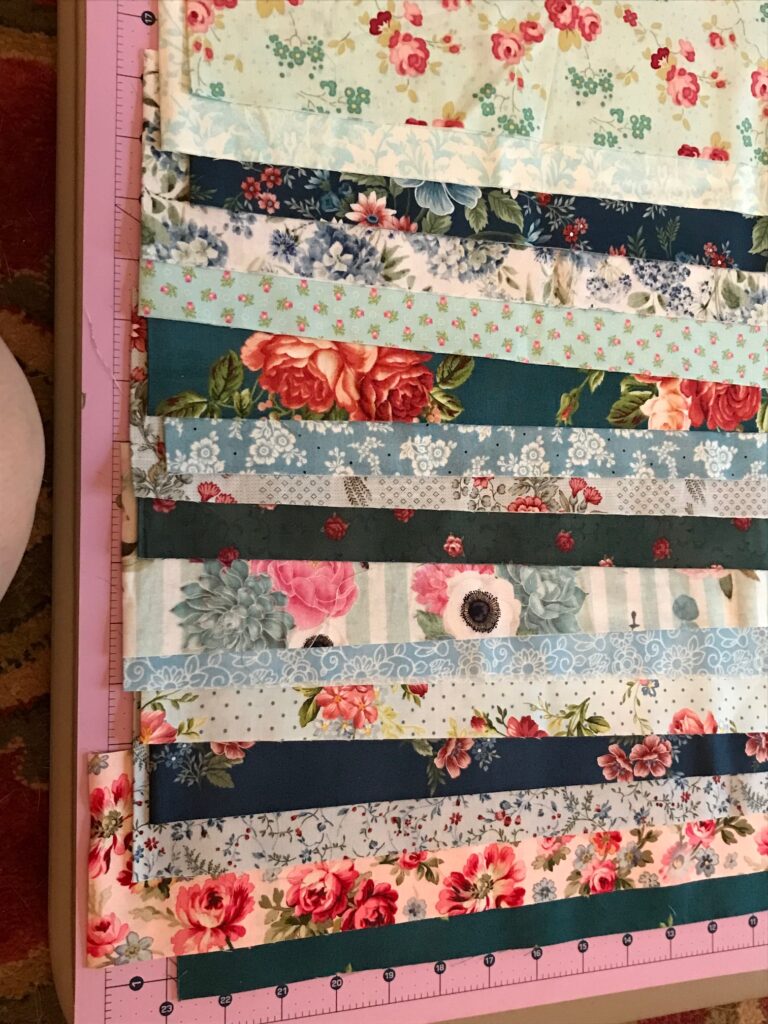
Then I cut the fabrics into strips. I didn’t cut them into squares yet. I used a a well known, well loved quilting shortcut.
After that I sewed the strips together in the correct order.
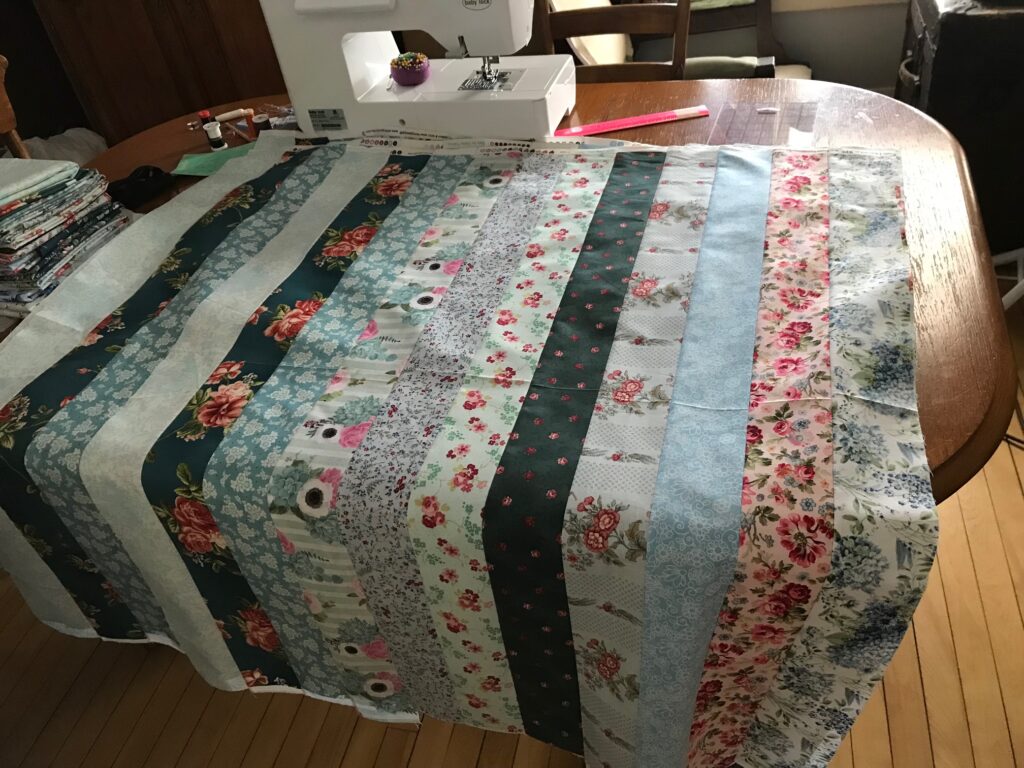
I cut this big block of strips into strips the other direction, ending up with several identical strips of squares. I forgot to take a picture of this step. Sorry. Then it’s just a matter of offsetting the strips by one square and sewing them together. When you do this method for an Around the World quilt, or some other designs, you have to pick out some seams and sew one end to the other end because each row starts with a different fabric in the sequence, but with this diagonal-row design, they all begin with the same fabric. Then I cut off all the edges. The outside pieces had to be cut into triangles to make a straight edge. Here’s how it turned out after adding borders.
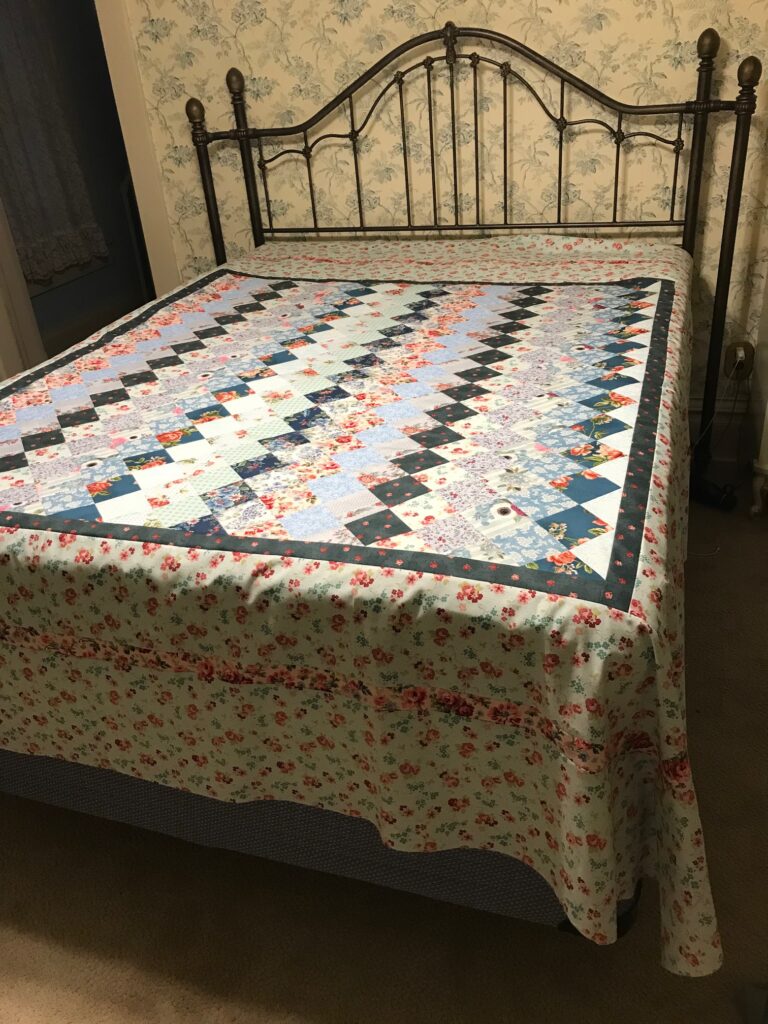
I didn’t love it. The patchwork part looked too small for the bed. I didn’t like so much of it being borders, and I didn’t really love the print I had chosen for the border. There were limited quantities of my first and second choice, so I settled for my third choice, which I felt was too pale and too modern. It didn’t match the Victorian theme of my house. So I decided to take the quilt top apart and fix it.
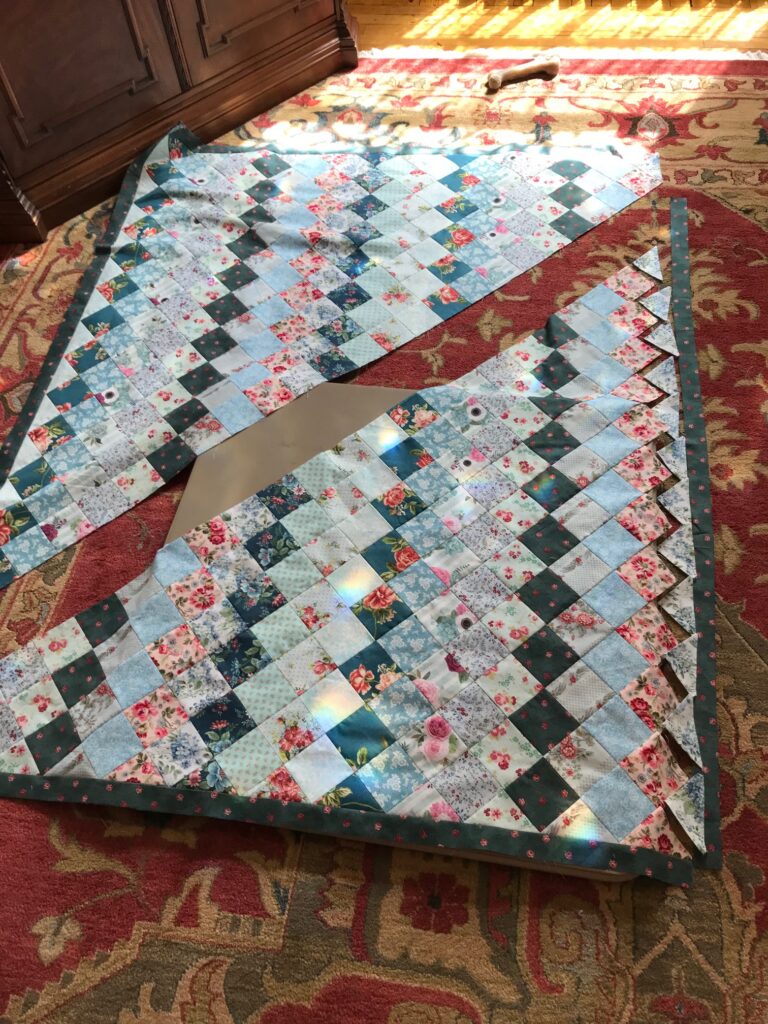
I removed the borders and decided to add more squares. Since my rows are diagonal, this proved to be more challenging than expected. First I picked out the seam between two diagonal rows and added more rows in. This added length, but not width. To add the the width, I had to unpick the end of each row, add extra squares to each row, and then sew the ends of the rows together. This was a painful process, but I think it was worth it. Luckily, I had enough extra fabric to do this. Here’s the disassembled top.
Then I widened my search for fabric to Etsy and found a coordinating print in a quantity that I could make work for a new border. Of course, after all that, in a trip to the fabric store months later I saw that they had replenished some of the prints that were unavailable earlier. I should have asked if they would be ordering more originally. I did find a print in the sale section that coordinated well, and there was enough of it to make the quilt back.
Mom came over and helped me tie it over Thanksgiving break. I like tying quilts. It feels old-fashion-y and takes a lot less time than hand quilting. And it’s much cheaper than paying someone to machine-quilt. Plus I kind of like the homemade look of it. Then the unfinished quilt sat folded up on my sewing table for months while I did Christmas, did other projects, and finally put forth the effort of making the binding and sewing it on. That’s my least favorite part of quilt-making. I like the look of a bias binding that’s hand-sewn, but I don’t like doing it. My motivation was that I bought a 3000-piece puzzle and told myself I couldn’t start it until the quilt was done. Here is the finished product again.
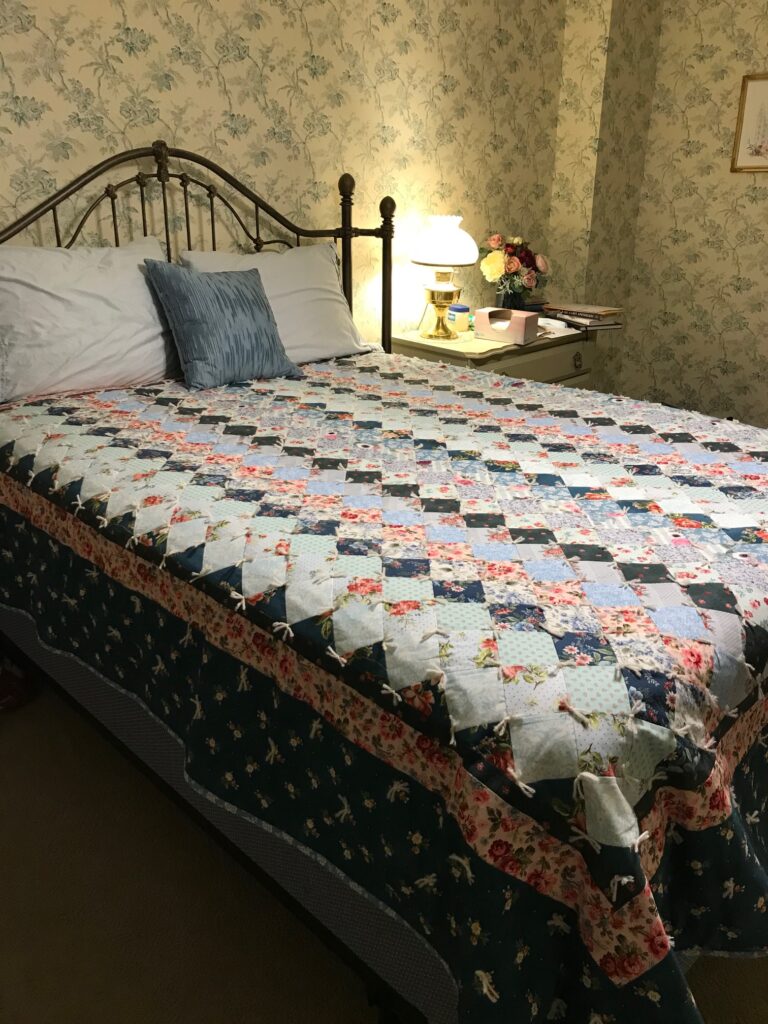
As you can see, I still need a bed skirt, but that can wait a little longer, until my puzzle is done. Or maybe until fall. My summer will be pretty full of gardening and outdoor projects.
It’s beautiful! I was always jealous of your Around the World quilt in college. Good work!
Gorgeous! That was fun to see the process!